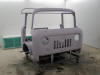
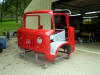
Here the cab and doors have a coat of Ditzler self-etching applied to them. Next comes many coats of filling primer and wet sanding until the surface is smooth.
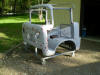
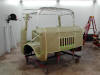
We’re getting pretty close here. Just a few areas need spot putty and then the cab is ready to be sealed and painted.
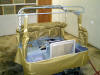
Finally the cab is sealed and sitting in the booth ready for the gray basecoat that will be applied to the interior.
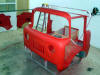
Now all the gray areas are done and it’s time to move to the red paint. I did the base/ clear on the interior separate because I thought it would be too much trouble to clear the whole cab. This way involved quite a bit of masking.
Right now, the entire red base has been applied. The next step involves the shiny stuff!
Now that’s what I’ve been waiting for! Next comes the dreaded bed with all that tubing to paint.
One more time of masking so I can apply the truck bed liner material to the underside, grill area, and rear cargo area of the cab.
Here’s the initial coat of self-etching primer. Lot’s of block sanding will be needed to remove 40 years of tourist-toting adventures.
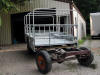
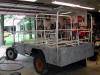
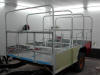
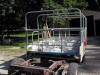
Here is a visual indication of how much time and material it will take to cover all this tubing. With all the tubing welded in place inside the bed it will be an adventure that I am not looking forward to!
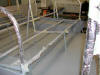
I have all the roll bars covered and after knocking down the primer one more time on the sides they will be covered also in preparation of spraying the floor of the bed. With the whole unit welded together it made painting the bed a little more complicated. First was the floor followed by the sides and paint the roll bars and seat frames last. With the base/clear system the bed had to be sprayed a total of eight separate times.
Here the floor and lower seat frames are completed.
Now all the tubing and floor areas are covered and it’s time to spray the red on the sides.
Now it’s time to paint that dreaded tubing! With so much tubing, so close together, the decision was made to paint the second and forth row first and then come back and paint the first and third rows. There was too big of a chance of bumping into an adjoining row while painting so it took a tad longer to accomplish this feat. By the way, aluminum foil works great for masking off tubing!
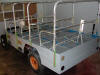
I slipped a little through the picture taking process but I believe that all the tubing is done and the unwrapping has started.
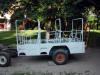
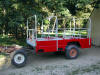
Just a little more unwrapping and this bed is finally ready for assembly!

 .
.
|
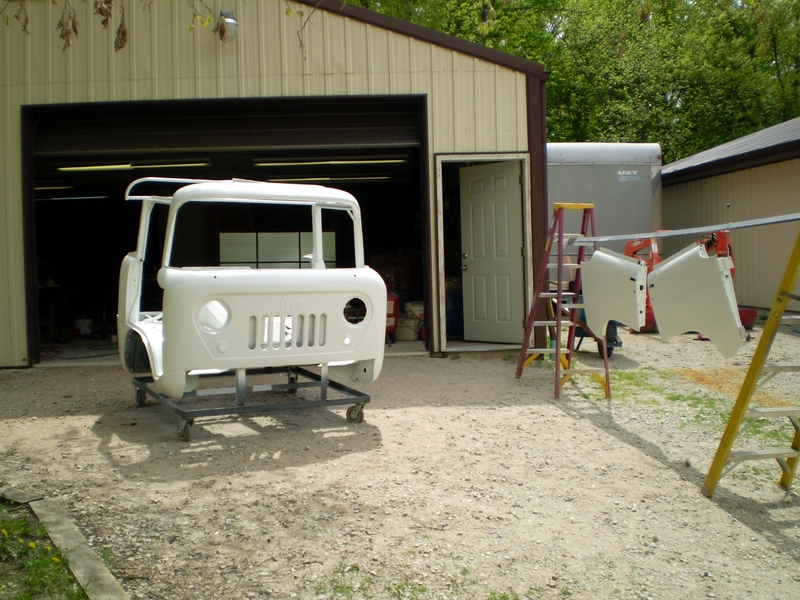
Here the cab and doors have a coat of Ditzler self-etching applied to them. Next comes many coats of filling primer and wet sanding until the surface is smooth.